


How to screw up a succah. In a good way.
I know you’re all wondering how I was able to build such a magnificent succah, and how I managed to combine inexpensiveness with convenience. But most of all, you’re wondering what the hell is a succah?
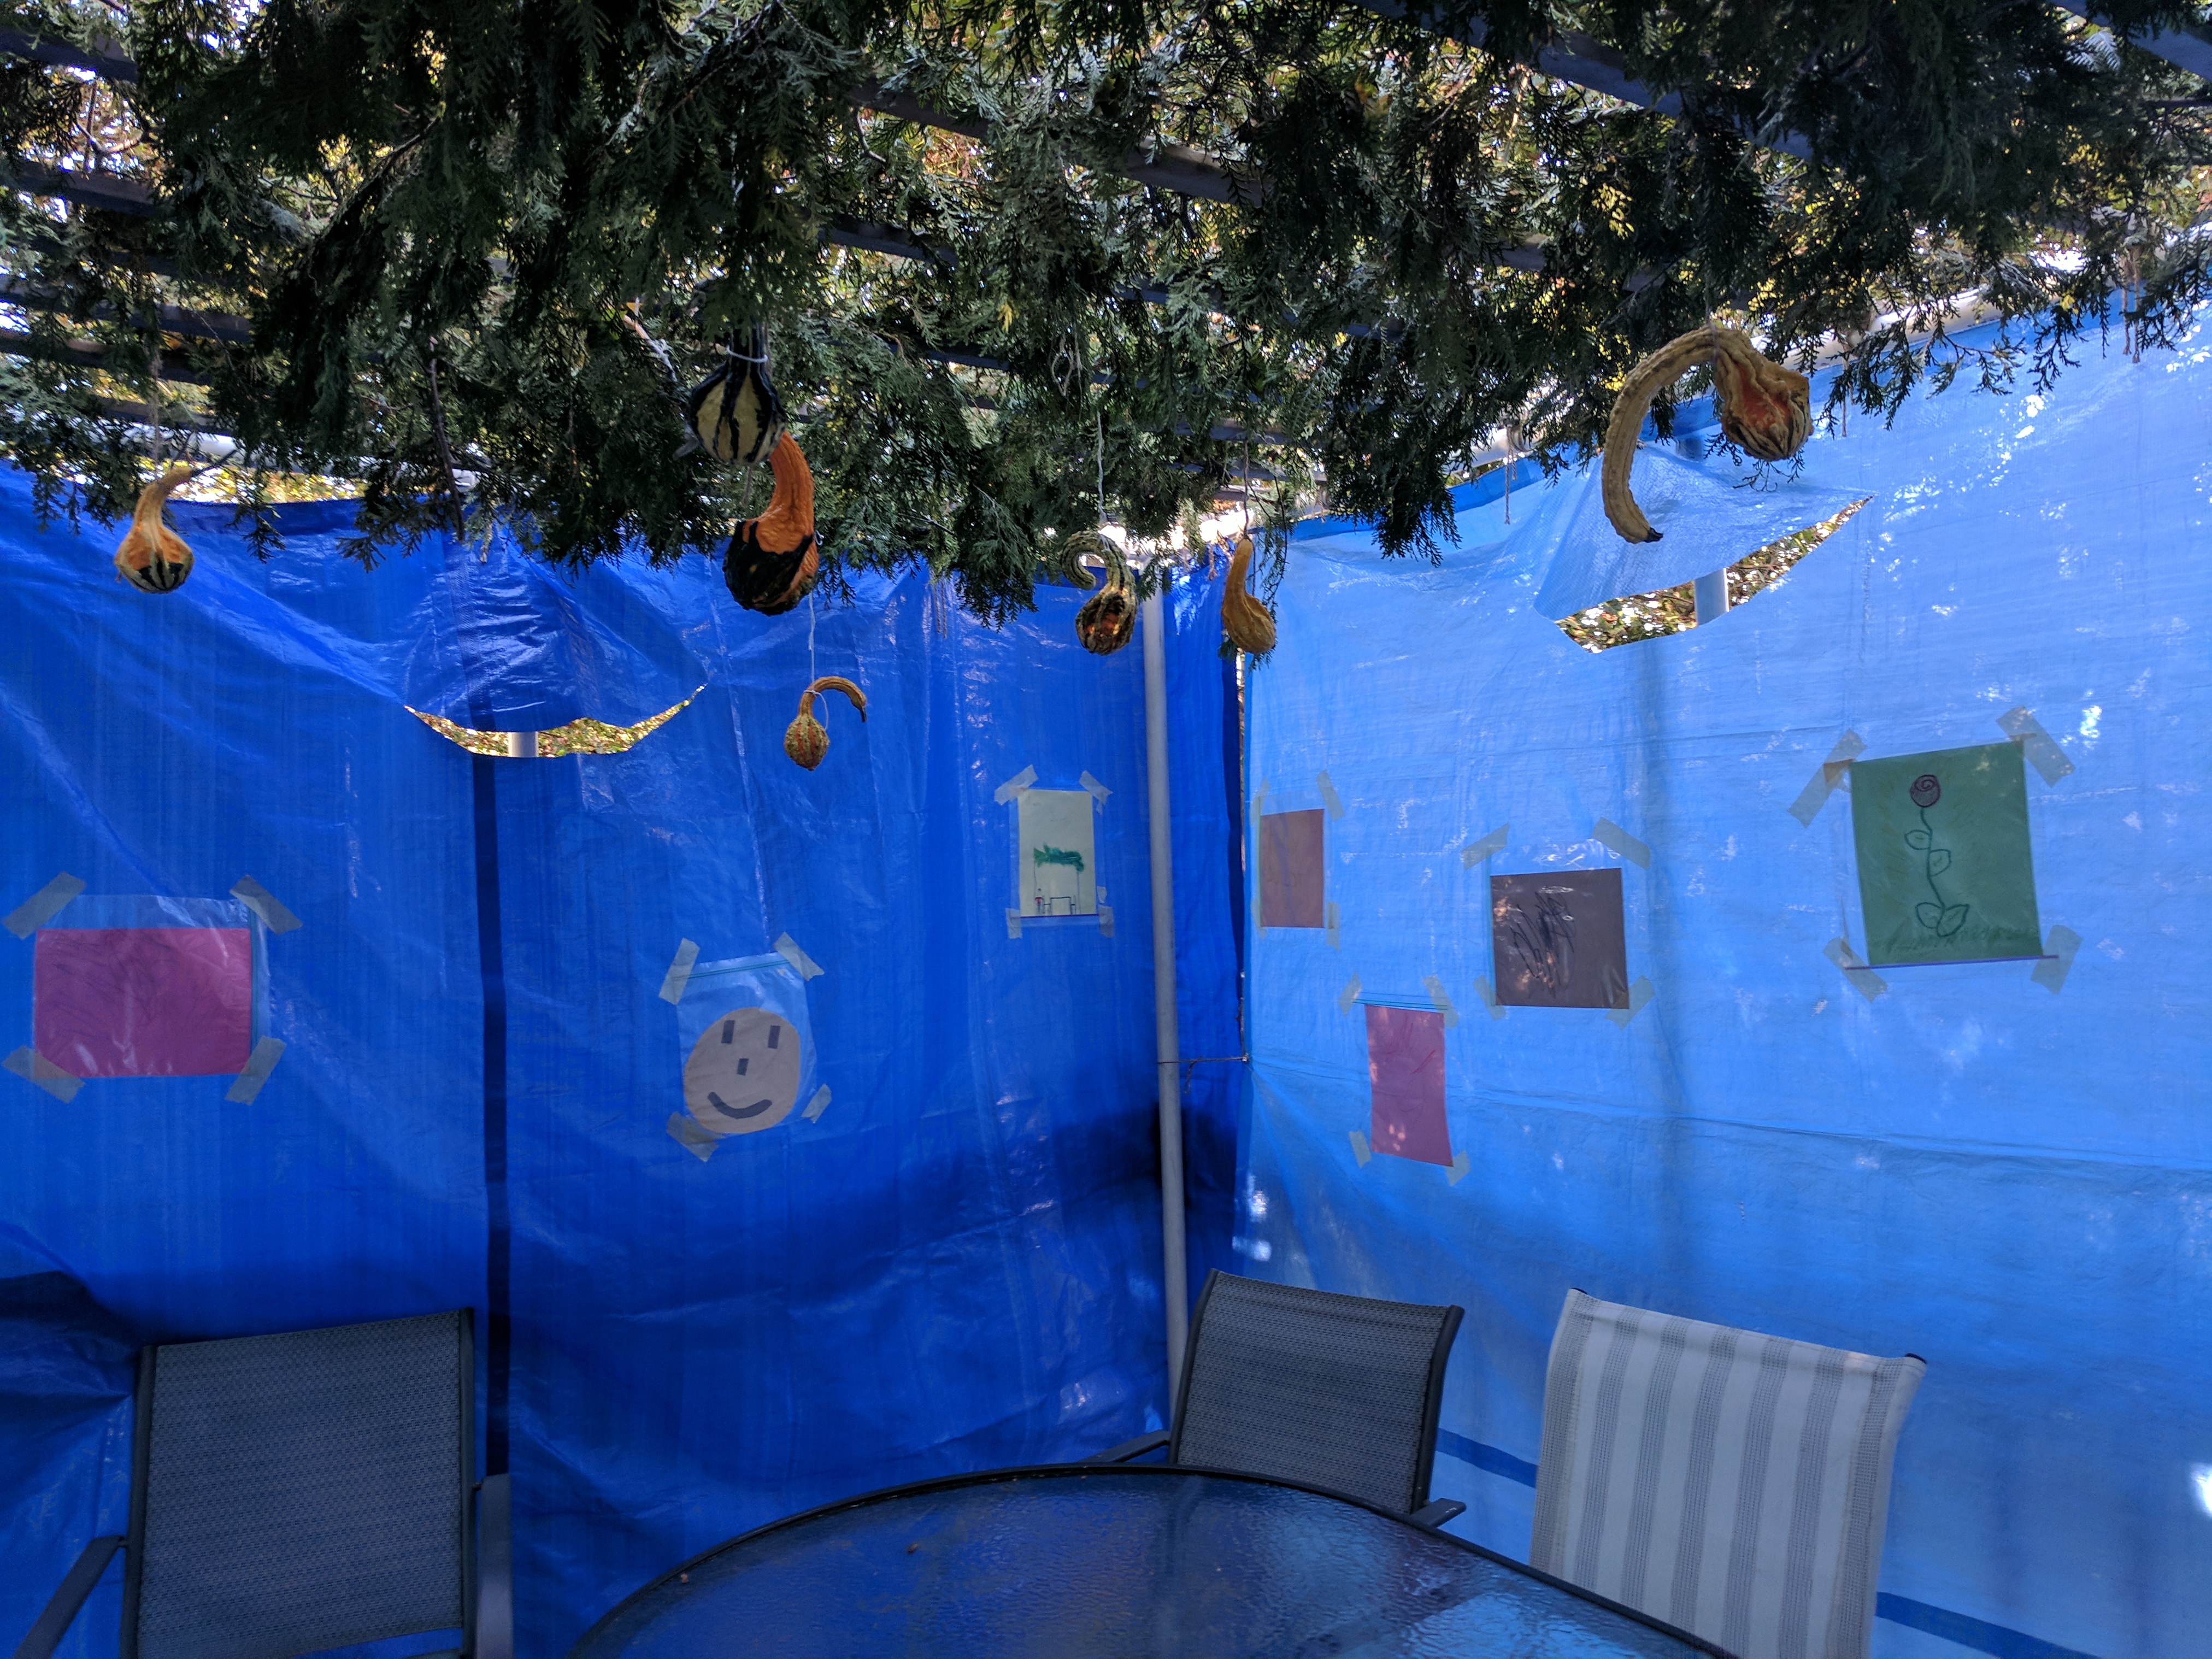
A succah is essentially a temporary Jew shack that you eat in during the holiday of Succos (AKA Sukkot). It has to meet certain requirements that make it somewhat sturdier than a pillow fort: It has to be temporary, covered incompletely on top, closed on at least three sides, etc. If you’re an observant Jew, as elements of my family are, you eat all your meals out there during the 8-day holiday. Some Jews even sleep in them. Far more commonly, the custom is to have guests as often as possible so that meals are extended and highly social. In some Jewish communities, succah-hopping is a thing. A good thing.
For the past 20+ yrs, I’ve been constructing it out of the same set of PVC pipes. I have a rubber mallet, which is comical enough that I should probably have bought it from Acme Hardware, which I use to bang poles into T-fittings. (For the middle uprights, they’re T-s with a third sleeve in the third dimension, which sounds way more complex than it actually is.)

This is fine except for my constant anxiety about wind overcoming the friction that holds the slippery tubes into their slippery connectors. So, every year after I’ve pounded the poles together — and, if you try to visualize the process you’ll see that pounding a tube into one sleeve unpounds it from the sleeve at the other end — I’ve drilled a hole through the sleeve and tube and inserted a weenie nail, just to add some charming shrapnel to the explosion when the wind suddenly tosses it apart like a child knocking down a house made of drinking straws.
So, I did some research and this year built a succah using a remarkable breakthrough in applied physics: threaded connectors. Here’s how.
Our succah is 10′ x 10′. Each side wall consists of two corner uprights, one upright in the middle, and four horizontal poles. The uprights have have fittings with a threaded nut. The horizontals have fittings that screw into the nuts. The fittings are glued on to the poles using PVC glue. You simply screw all the pieces together.
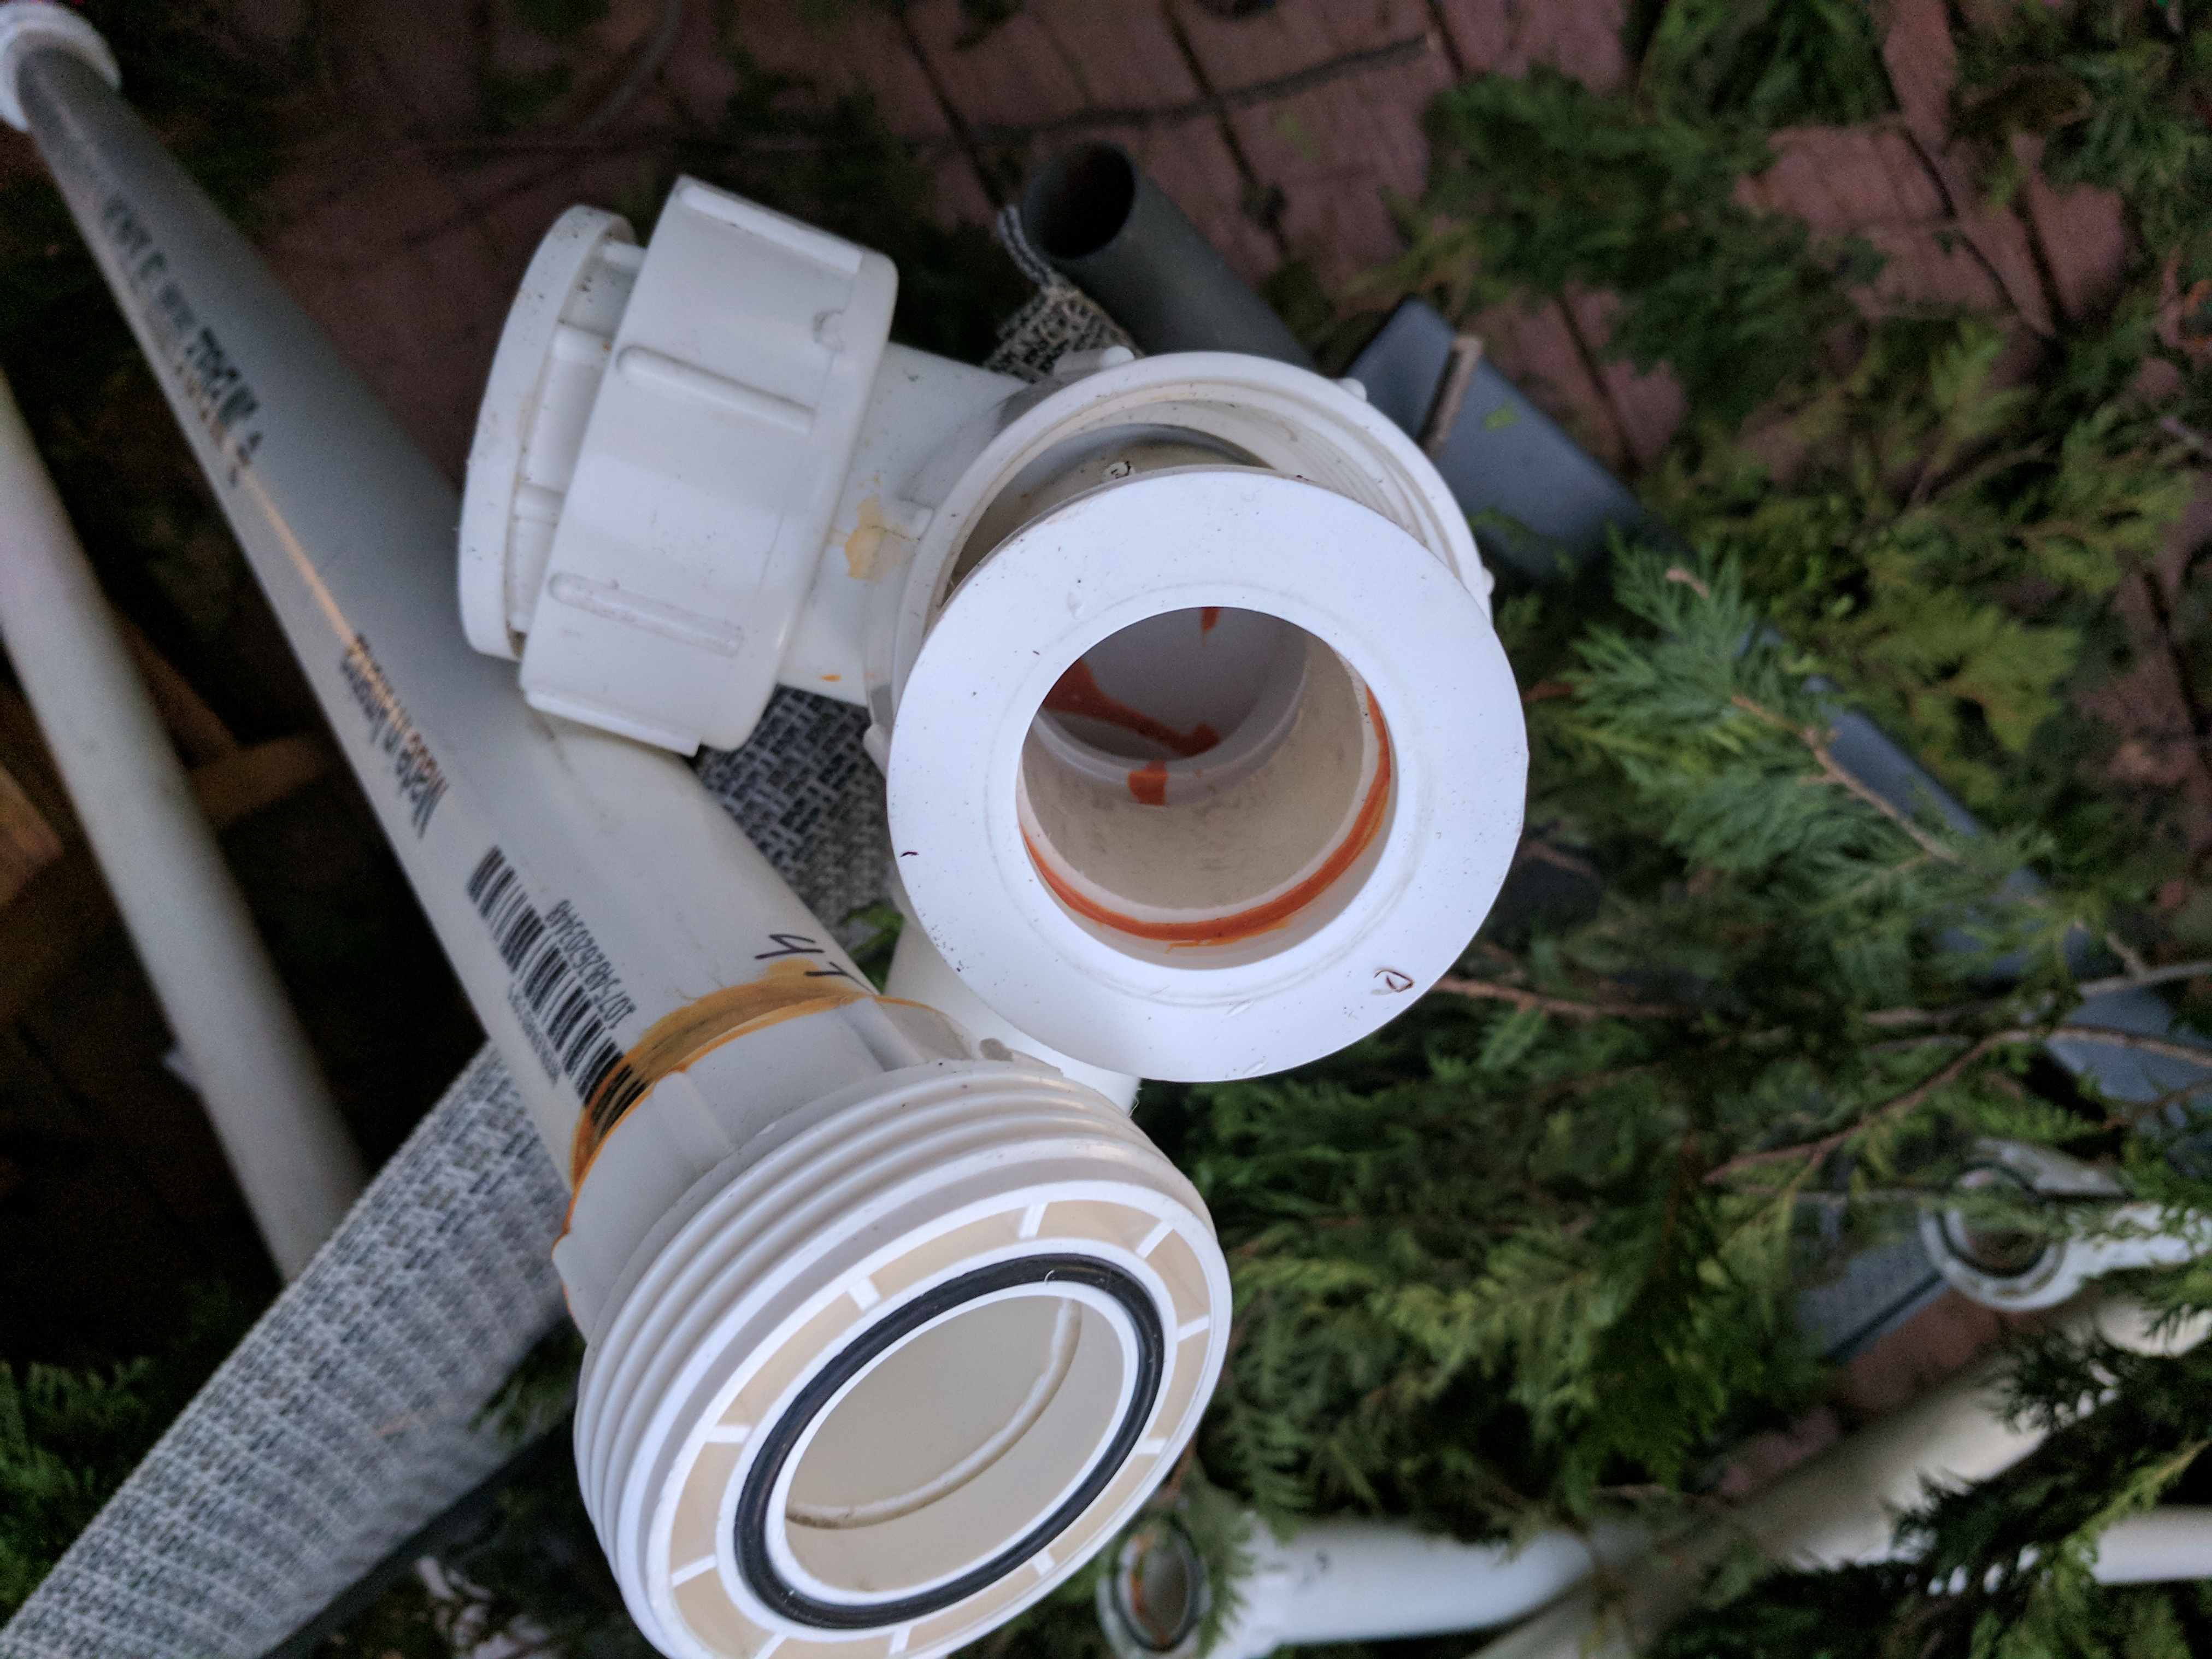
It’s a little more complicated than that, though, because everything is. The threaded fittings are sleeves. But because they’re all designed to connect to lengths of pipe the way you might want to connect one garden hose to another, you can’t use them to connect pipes perpendicularly. But every joint in this construction connects a horizontal to an upright, which means you need 90-degree turns.
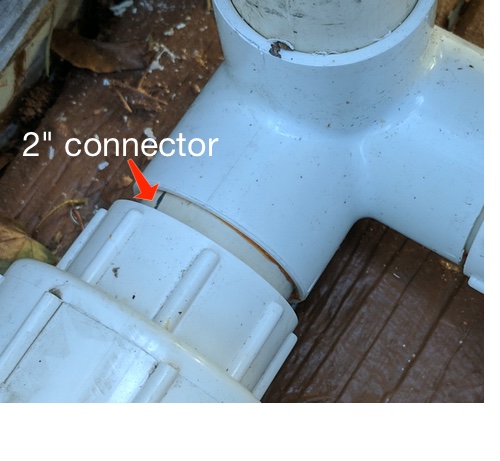
So you get yourself some plain old fittings, like the ones I used in the prior version. You attach them to the uprights. But those fittings are sleeves designed to join two pipes. The threaded fittings are also sleeves. How do you join a sleeve to a sleeve? With a pipe! So, for each join, cut a 2″ piece of pipe. Glue one end into the sleeve on the upright. Glue the other end to the threaded end of the threaded joins. Press them in so that they’re flush. Below is an example where the connector was a little too long, so the joins are not flush, purely for illustrative purposes I assure you:
Now assemble the pipes. Our uprights are 7′. The horizontals are 47″ each, which, with the additional lengths imposed by the fittings, worked out to about 10′. But if you need exactness, you should cut them to fit. Just remember to label them so they’ll go together next year. Also, wear eye protection: the pipes cut easily with a circular saw, but it creates a lot of flying plastic jaggies.
Here’s the invoice for the fittings:
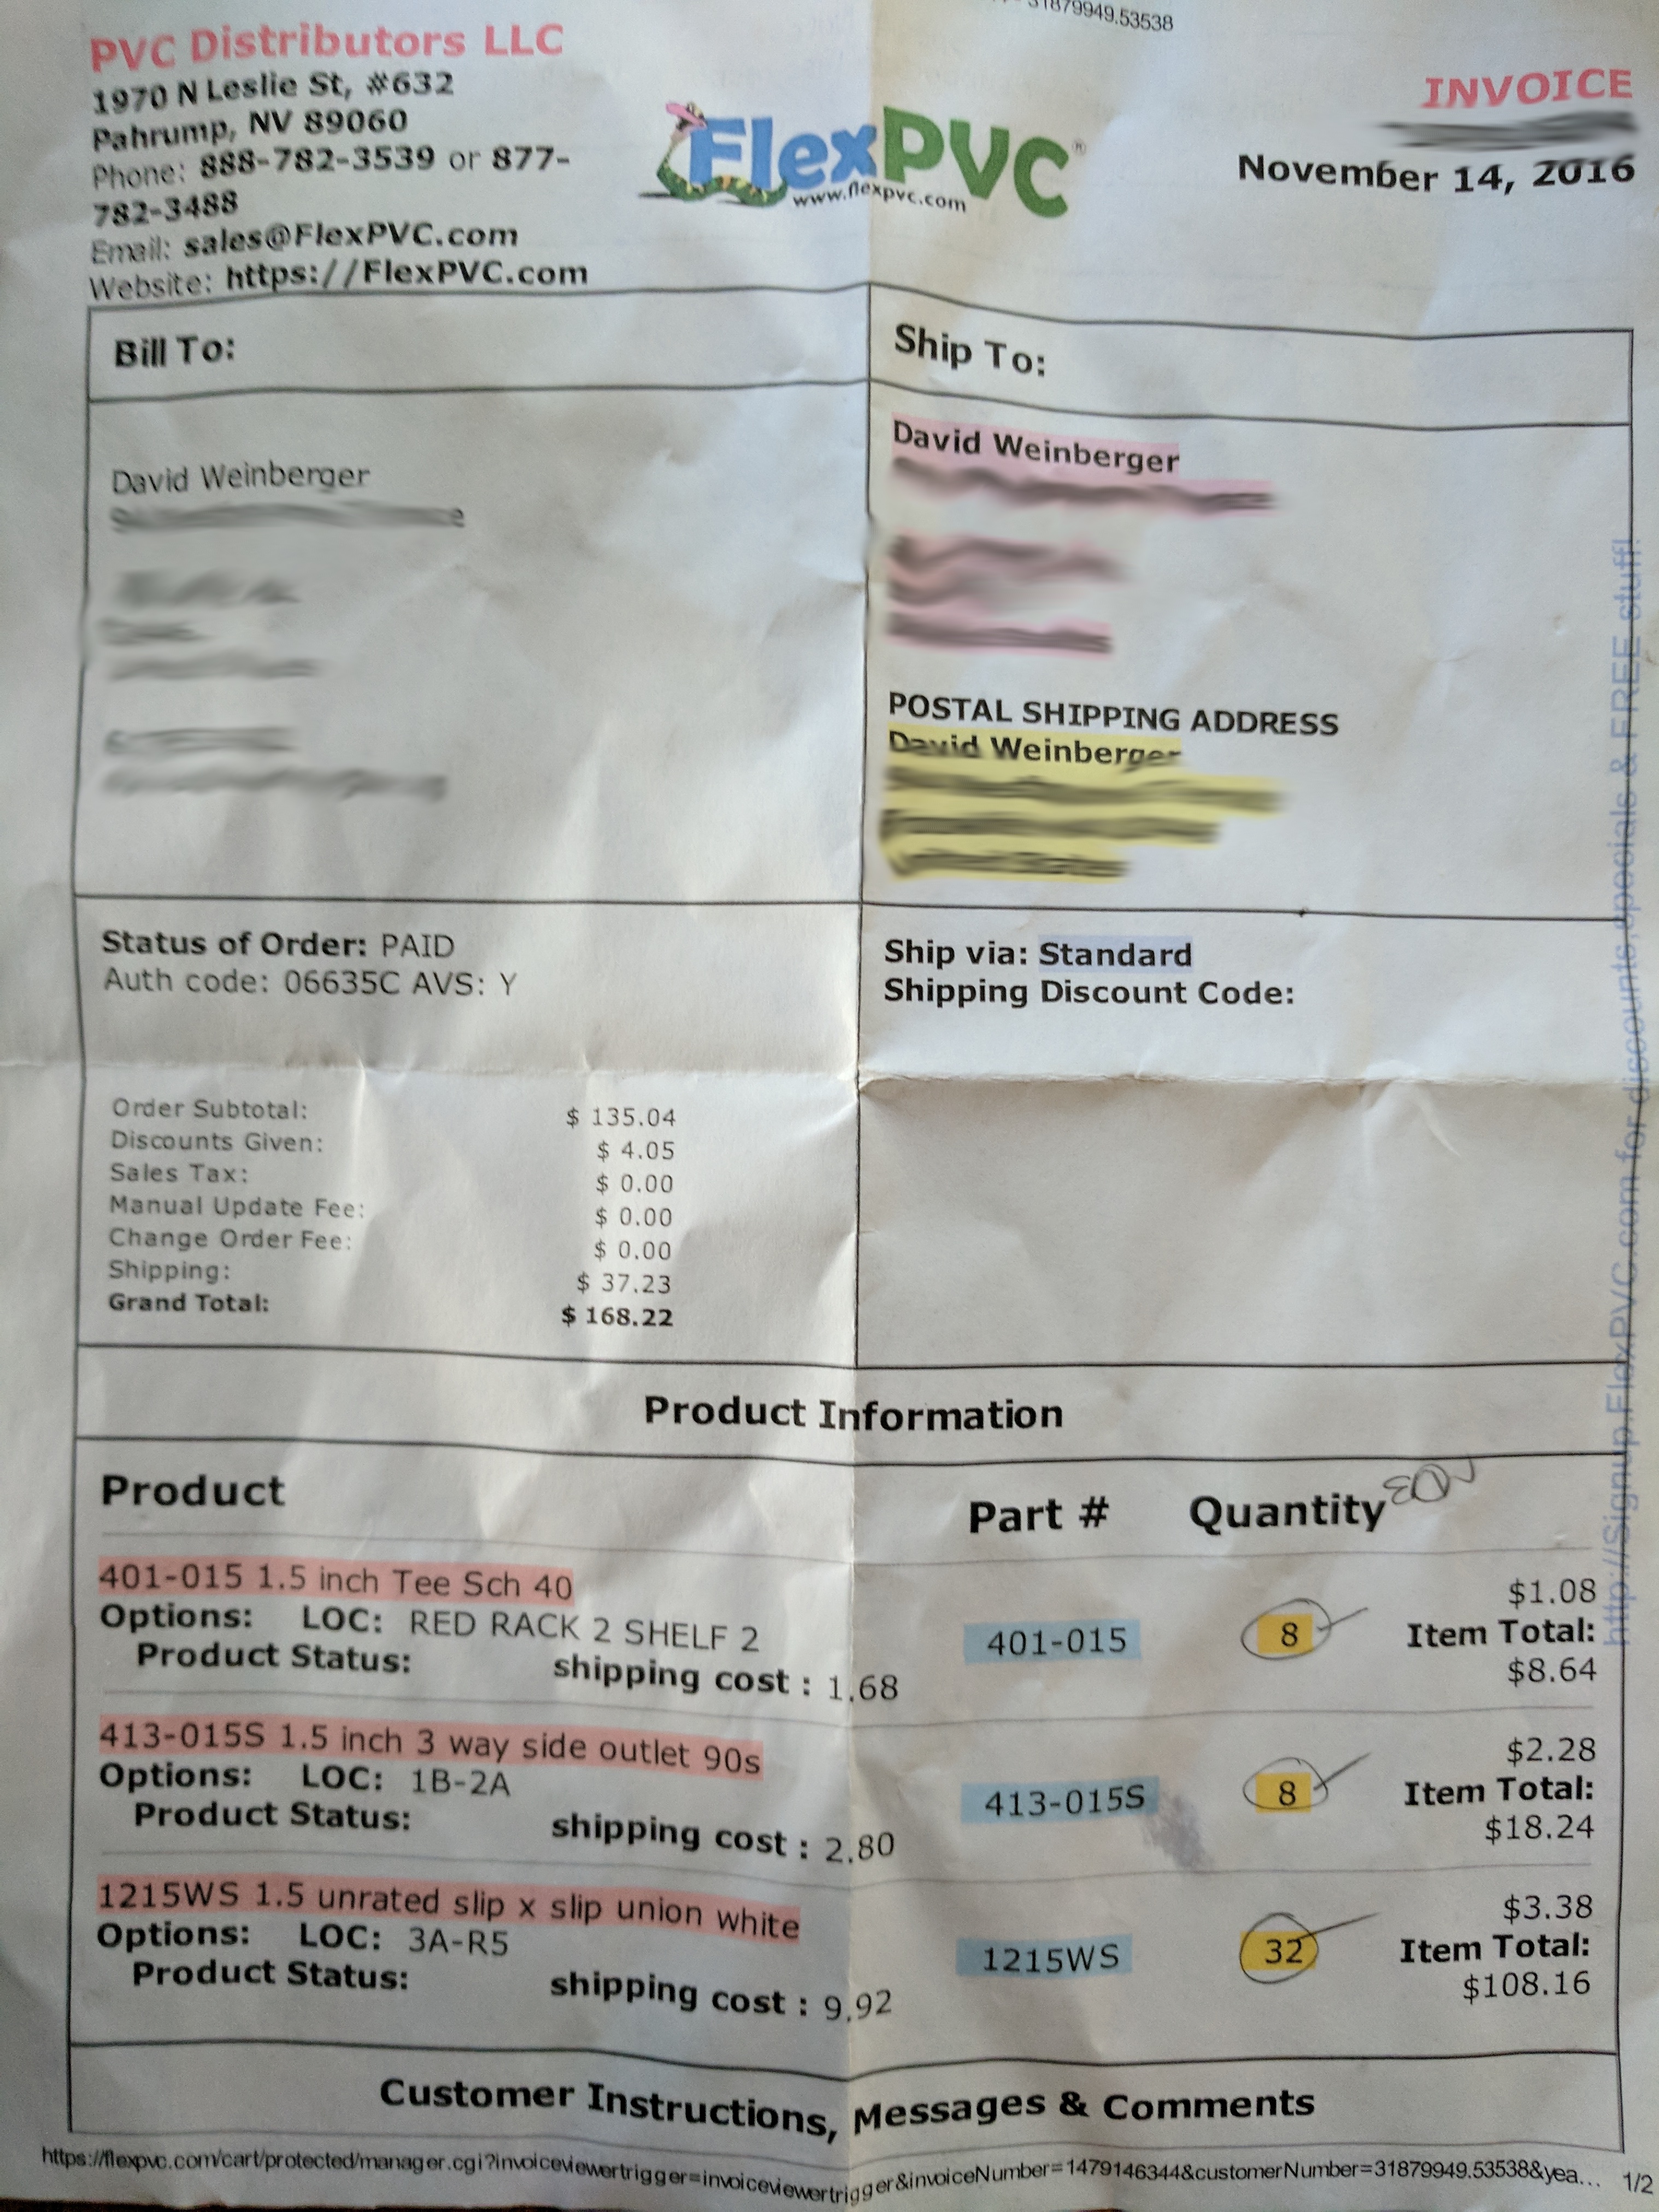
You might want to get ourself a spare or two. I’m still amazed that I got away without needing one.
Note that the outer rings tighten counter-clockwise. You have to get the pieces lined up pretty well to be able to screw them together. I suggest that you assemble it from the ground up so that you won’t have to expand magic suspending pieces in mid-air.
The succah worked out well. It seemed pretty robust for a plastic structure made out of pipes not intended for that purpose. It disassembled quite easily. My only concern is how many years we’ll get out of the threaded pieces; they seem rugged but so did I once. (Actually, I didn’t.)

